To help you install your crown moldings into your cabinets conveniently and precisely, follow the tips below.
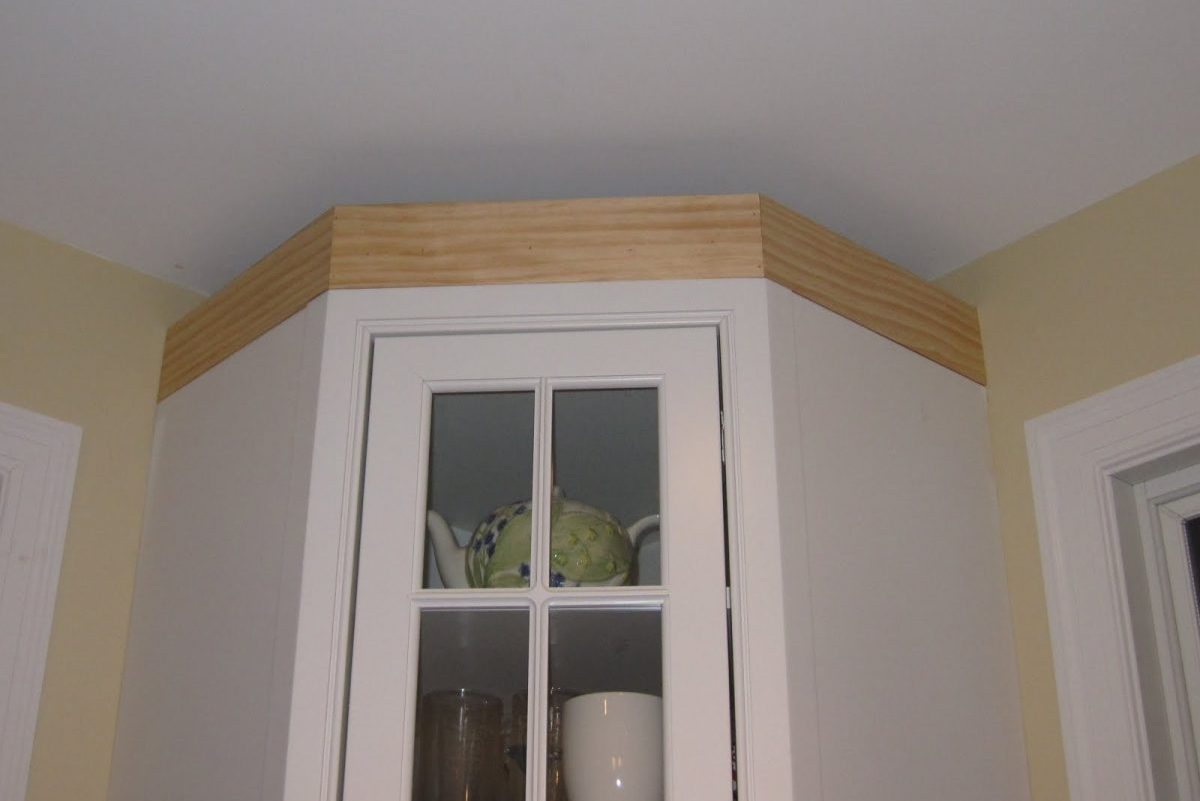
1. Wood Nailing Position
Make sure to position the nailing strips along the top part of the cabinets precisely. Once you position the nailing strips too far backward or forward, a visible line will ruin the cabinetry’s appearance.
2. Use and Electronic Nail Gun
An electric nail gun is an appropriate tool to use when installing crown moldings in cabinets. Not only does it allow you to shoot thin nails without damaging your cabinets, but it also allows you to get into difficult-to-reach soffit areas.
3. Skip on Furring Strips
When shopping for 1×2 lumber for the nail strips, better skip on the furring strips due to its rough edges. Instead go for fir, pine, spruce, or other softwood with straight edges.
4. Invest in Good-Quality Wood Glue
Wood glue is what you will need to secure down the crown molding onto the nailing strips. Once all pieces are cut and dry-fitted for accuracy, put a thin layer of wood adhesive along the juncture between the crown molding and the nailing strip.
Conclusion
To accurately install crown moldings into your kitchen cabinetry, the use of premium-quality materials and tools are the key requirements.